eCommerce Adding Products
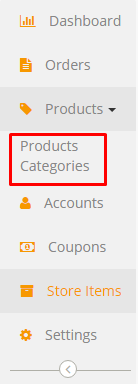
From your eCommerce admin, click “Products” on the left.
Here, you have both “Products,” where you’ll list and edit your individual products, and “Categories,” where you’ll be able to group your products by categories.
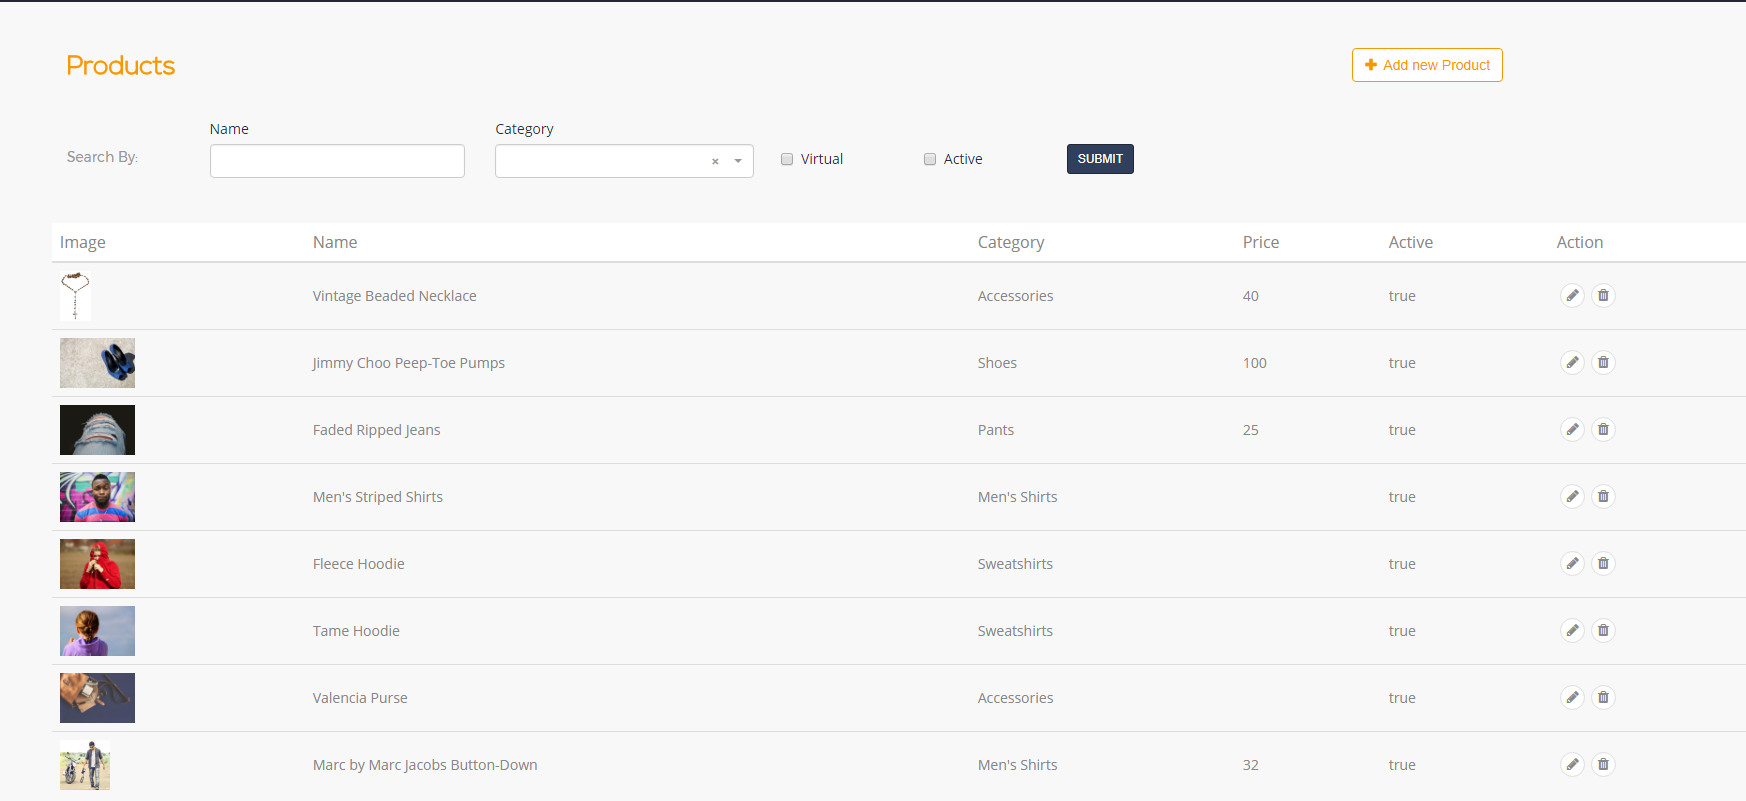
You can see some mockup data which will show you an example of how your products will be listed.
Categories--First, define your product categories. This will make it easier to group your individual products later.
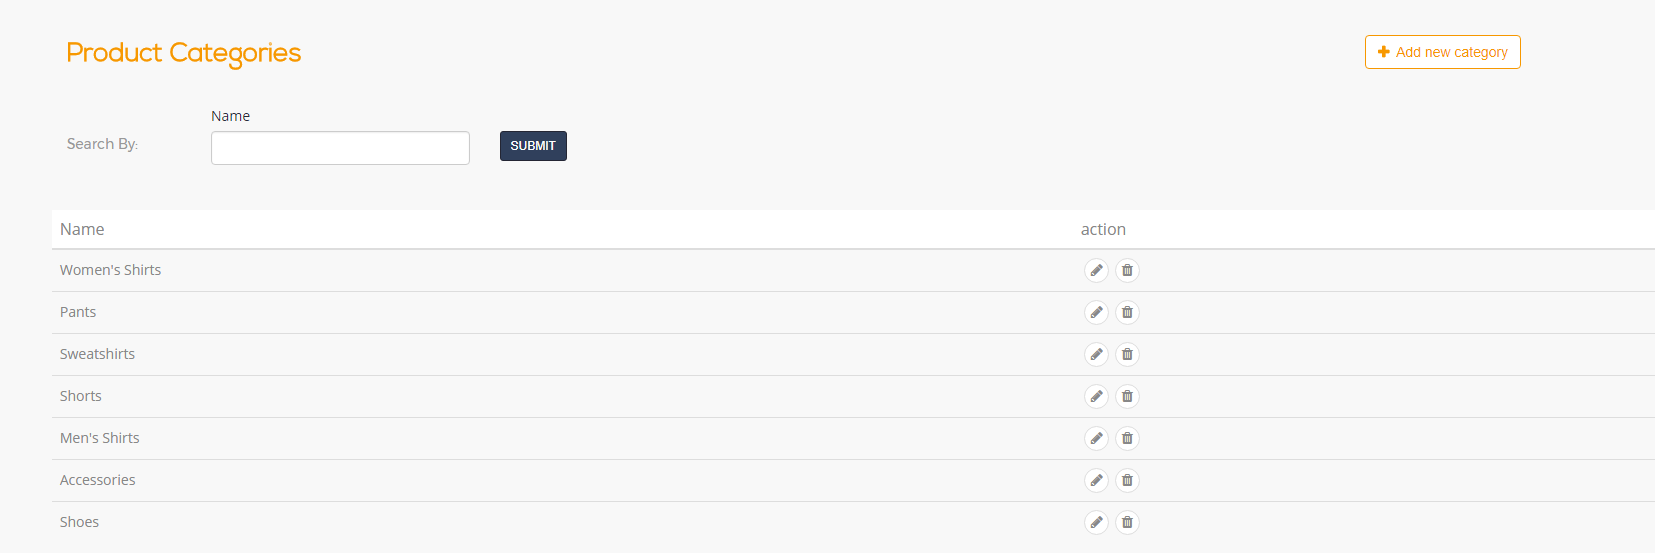
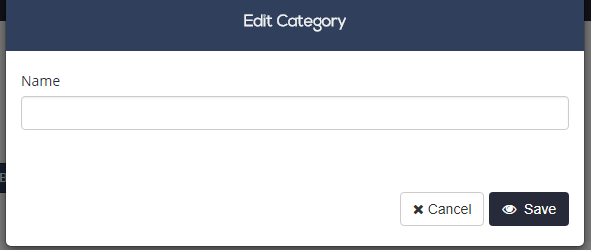
Select “Add new category” and insert the name of a category of products. When you are finished, click “Save.”
Products--Now, you can add images, name your products, group them under the categories you just defined, and list the price of each product here. You can also define which items are currently active and which are not.
Note: When adding product images, make sure the file sizes are not too large and that the images are all the same size. This will ensure that the display of your store looks clean and professional.
Select “Add new product” to create a row for each of your products.
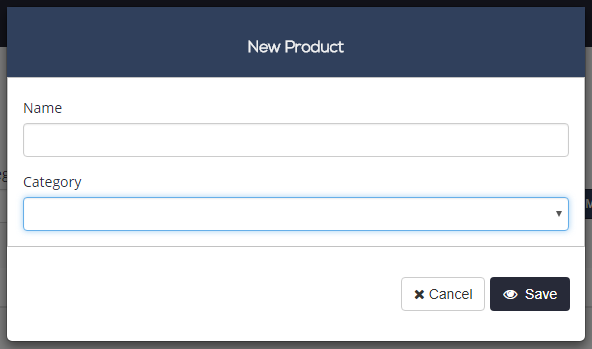
Name your product, and select the category it belongs to.
If you click on the “Action” tab next to a product row, you will open that product’s individual page.
Note: You may also add large quantities of products directly from a table in your database, but note that you will not be able to upload images this way- you will have to upload them manually.

Here, you can add a price and short/long descriptions to the product, and choose its page name.
If you want to mark a product as on sale, check off the “On Sale” tab and specify the product’s new price. (Your visitors will see the original price listed on your website with a red line through it, with the sale price displayed next to the original price.)
Check the product as “virtual” if it’s a virtual product, such as an e-book, software, logo, etc.
In the “Images” section, you can include preview images of your product.
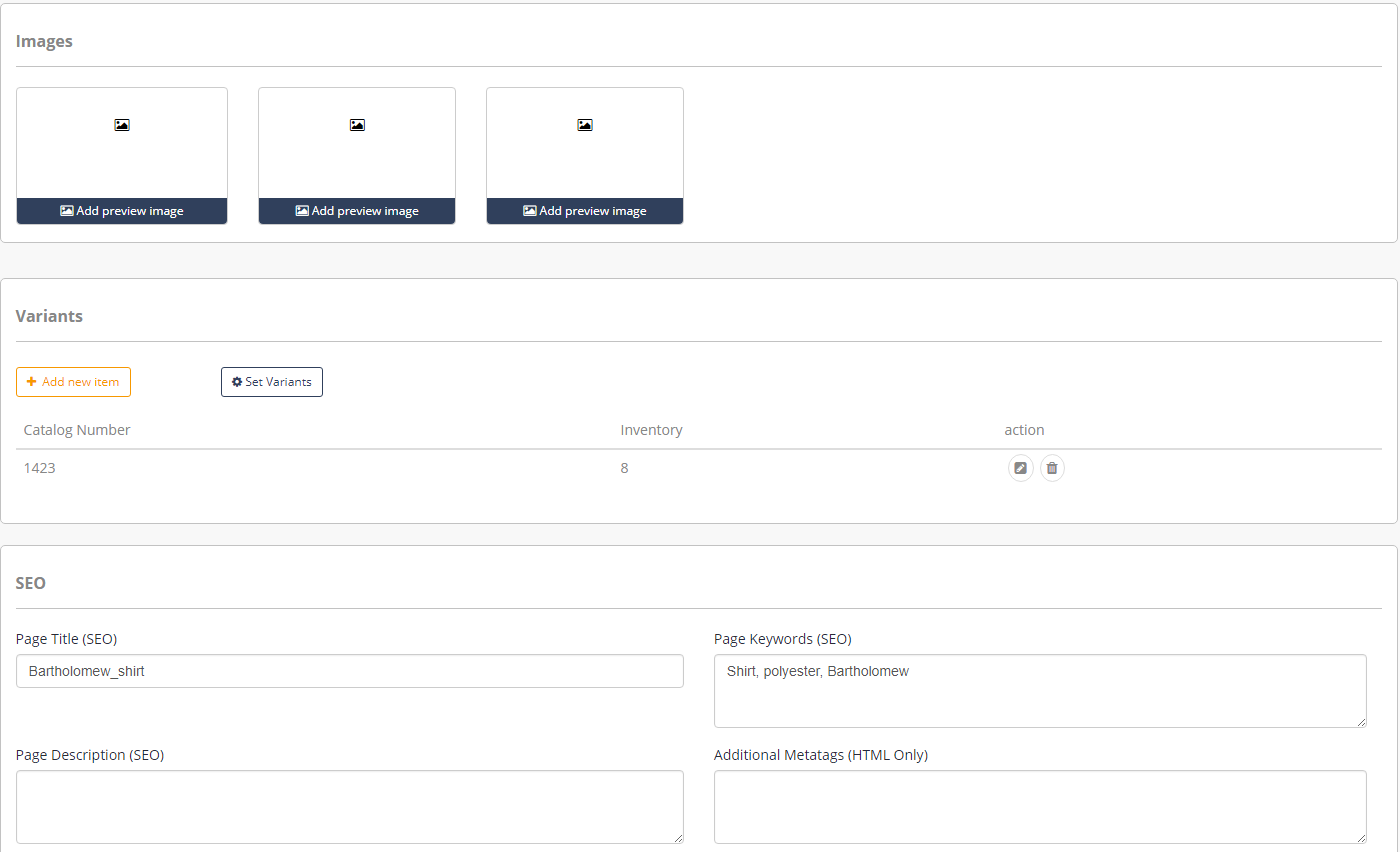
Under “Variants,” you will define the different versions of the product that are included in your inventory. For example, if you have 10 blue shirts in size small, 4 red shirts in size medium, and 7 green shirts in large, you will set those criteria here.
Note: You can only edit your variants if you’ve previously set your eCommerce to manage inventory, and defined the criteria under “Variants” in the Settings section.
Select “Set Variants” to check off the variants that apply to this specific product. For example, if the product is a pair of pants that you have in multiple colors, sizes, and materials, choose the variants “Color,” “Size,” and “Material.” When you are finished, select “Apply”.
Click “Add new item” to add each variation of your product. For example, blue shirts in size medium would be one row, blue shirts in size large would be another row, etc.
Insert the catalogue number of your product variation under “Catalogue Number.”
Select the criteria applicable to the product variation. For example, “blue” and “medium”.
Add the amount of the specific variation of the product under “inventory” of each row. If you have 32 blue shirts in size large, write “32” for the inventory section of the row containing blue shirts in size large.
In the SEO section at the bottom of the page, you will manage your product’s SEO. You can include page title, keywords, page description and additional Meta Tags.
When you are finished, click “Save” at the bottom of the page.

