News Ticker Guide
Below is a two-step guide to setting up your News Ticker. By now, you should have already added the News Ticker application to your database and connected it to your website. (If you haven’t, see how to do that here). Here are two simple steps that will get your News Ticker up and running in no time.
1. Set up your News Ticker.
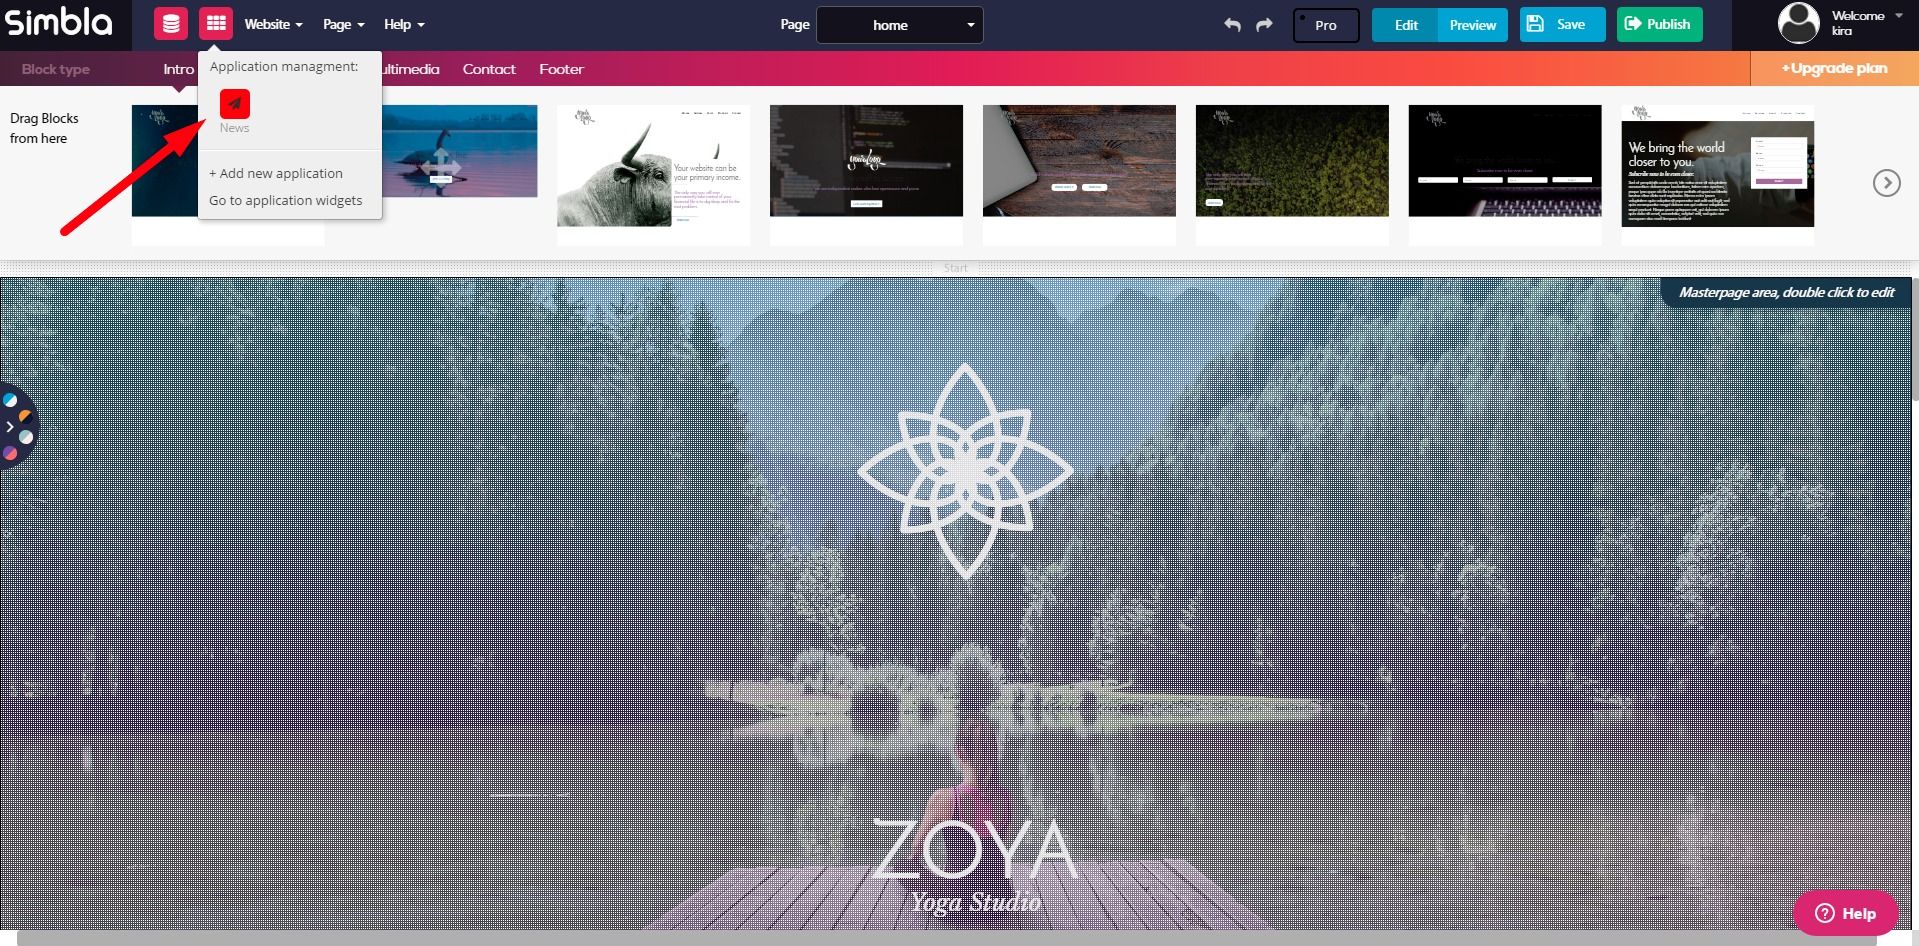
Go to the application icon in the top left corner of your screen, and select “News” under “Application management.”
A new window will open that looks like this:
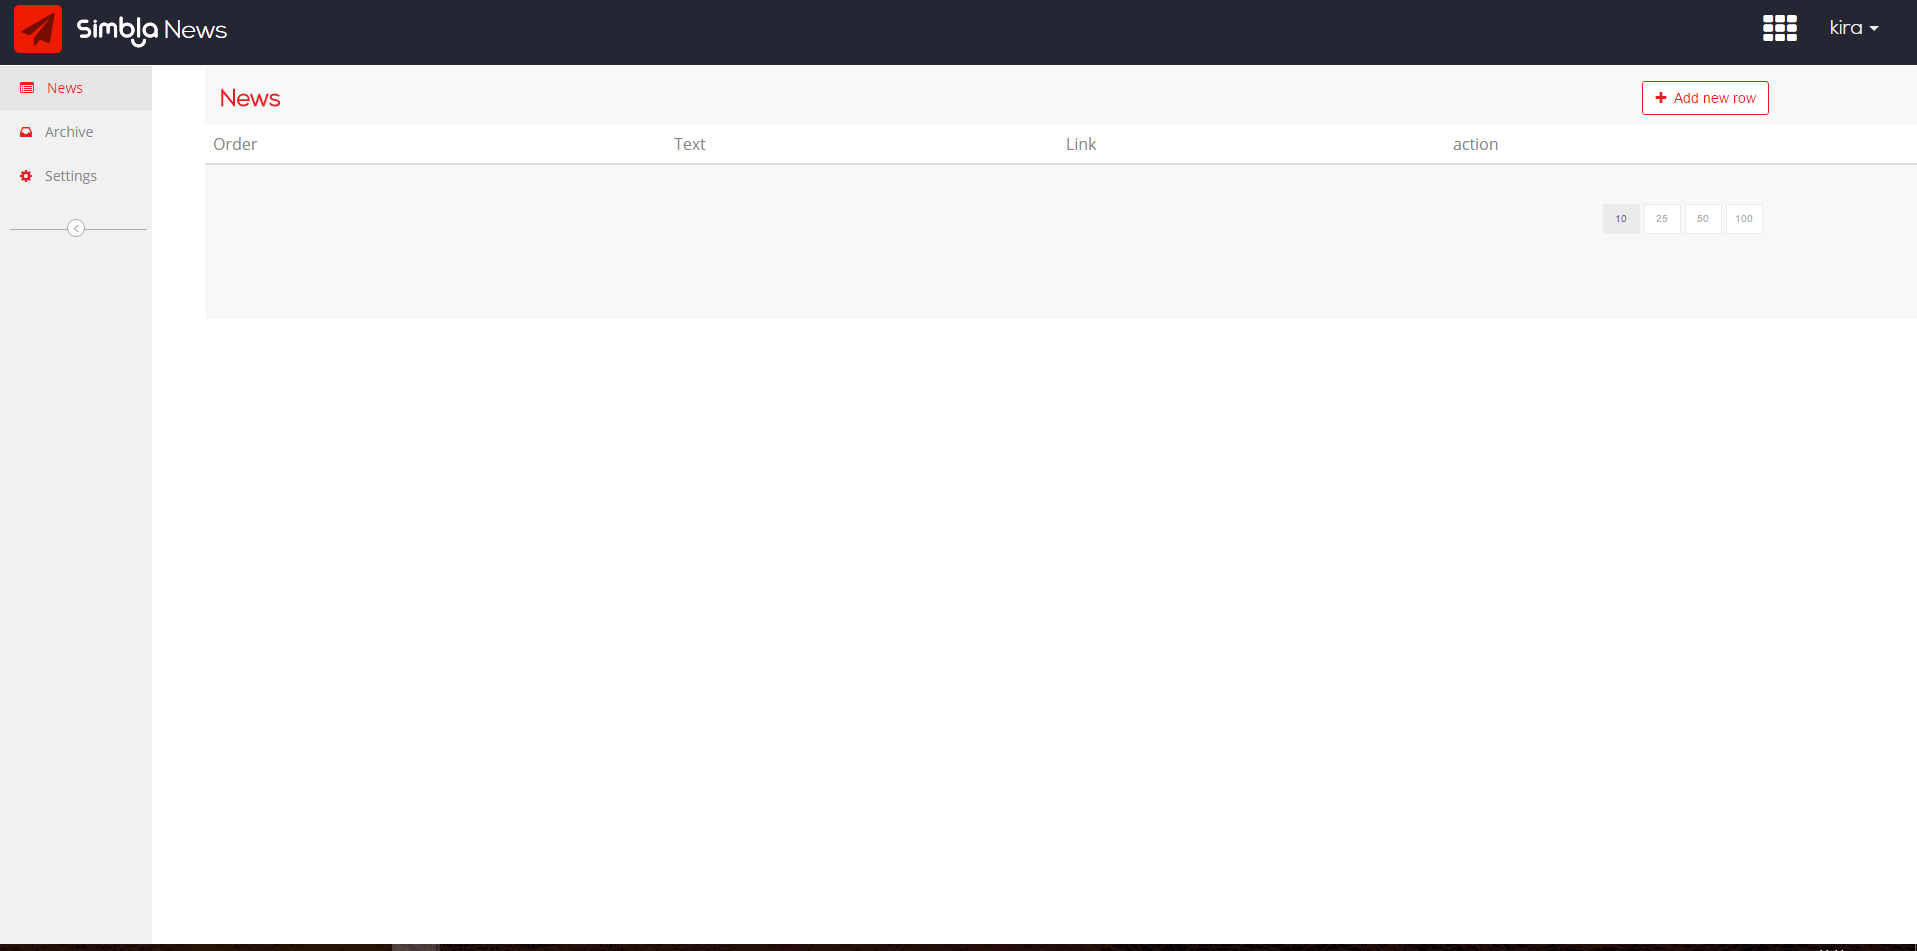
Here you can manage your news headlines, and decide how you want them to appear on your site.
Select “Add new row” in the top right-hand corner of the page, which will take you to this window:
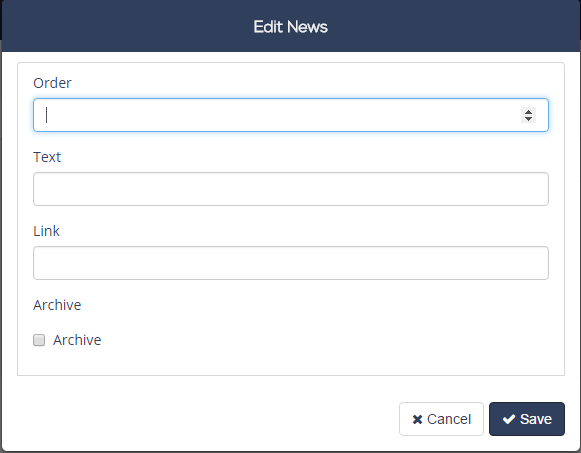
-Order: The order you want your headlines to appear in
-Text: What you want your headlines to say
-Link: Where you want to redirect your users after they click on the headline .
-Archive: Check this box for any headline you want to save for later. (These headlines won’t appear on your website until you decide to take them out of the archive.)
Make sure to click “Save” after each individual row you add.
Note: Any headline you’ve chosen to archive won’t show up on this News management page. Instead, it will appear under the “Archive” tab on the left.
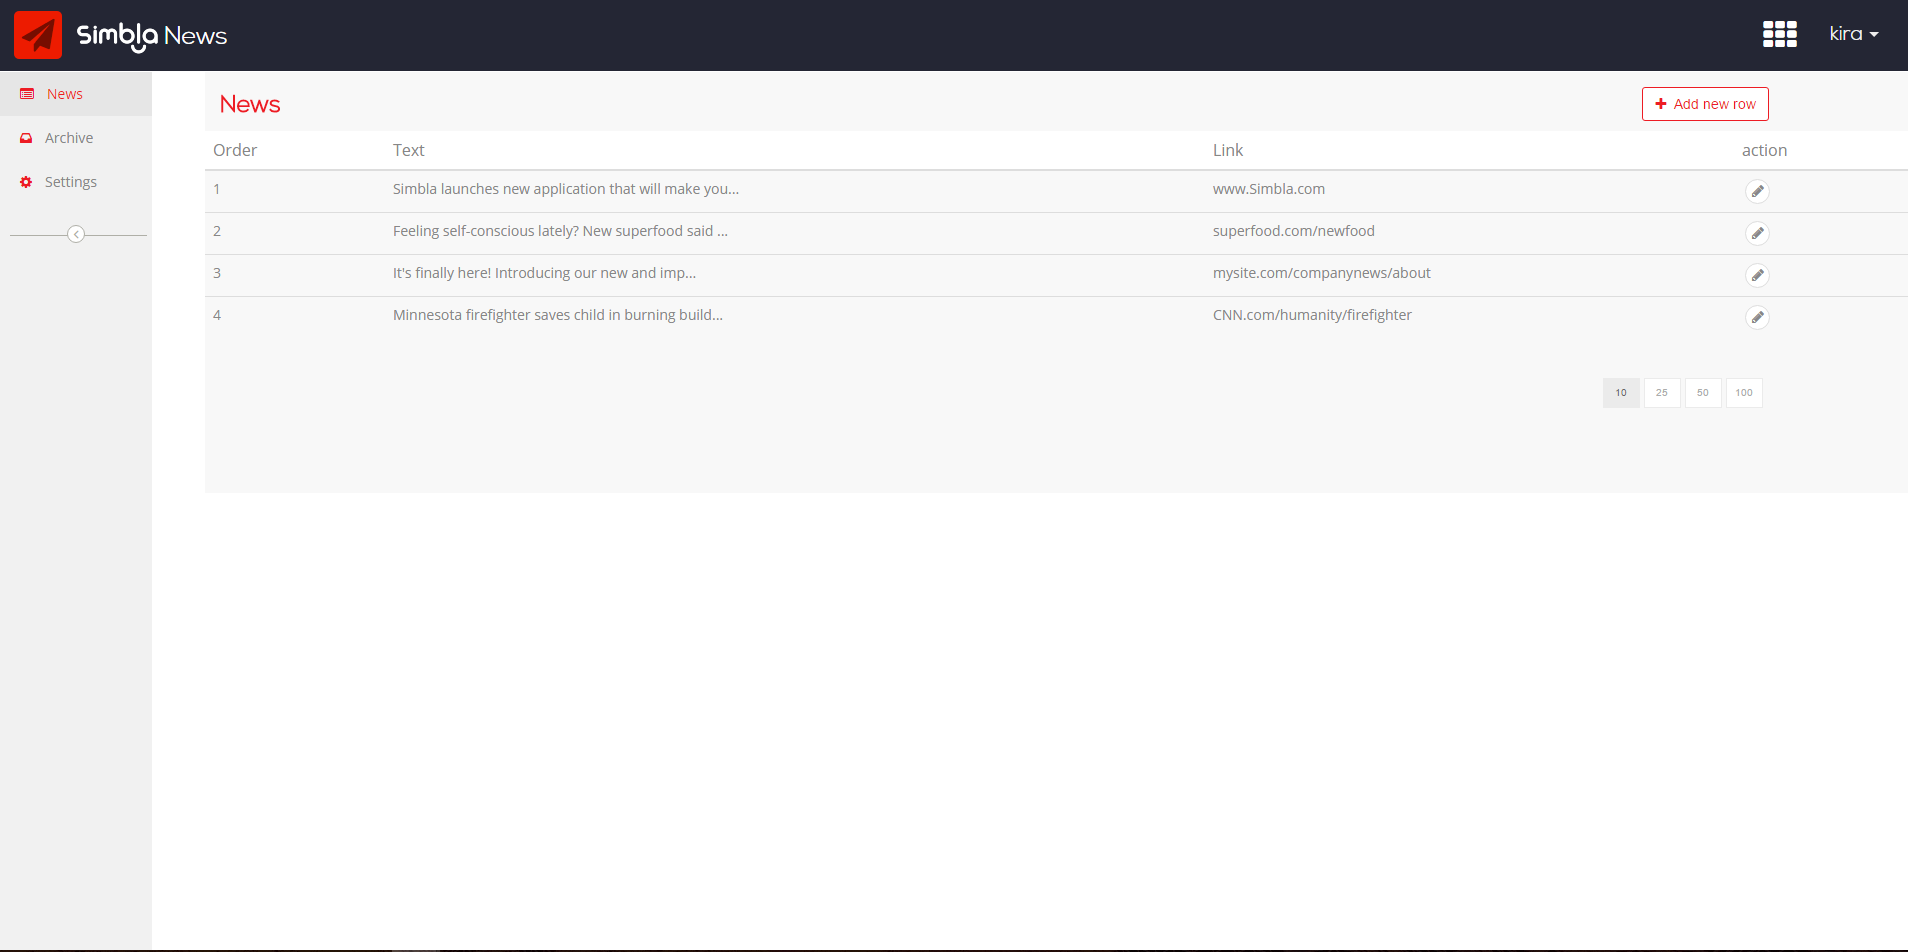
2. Connect your News to your website
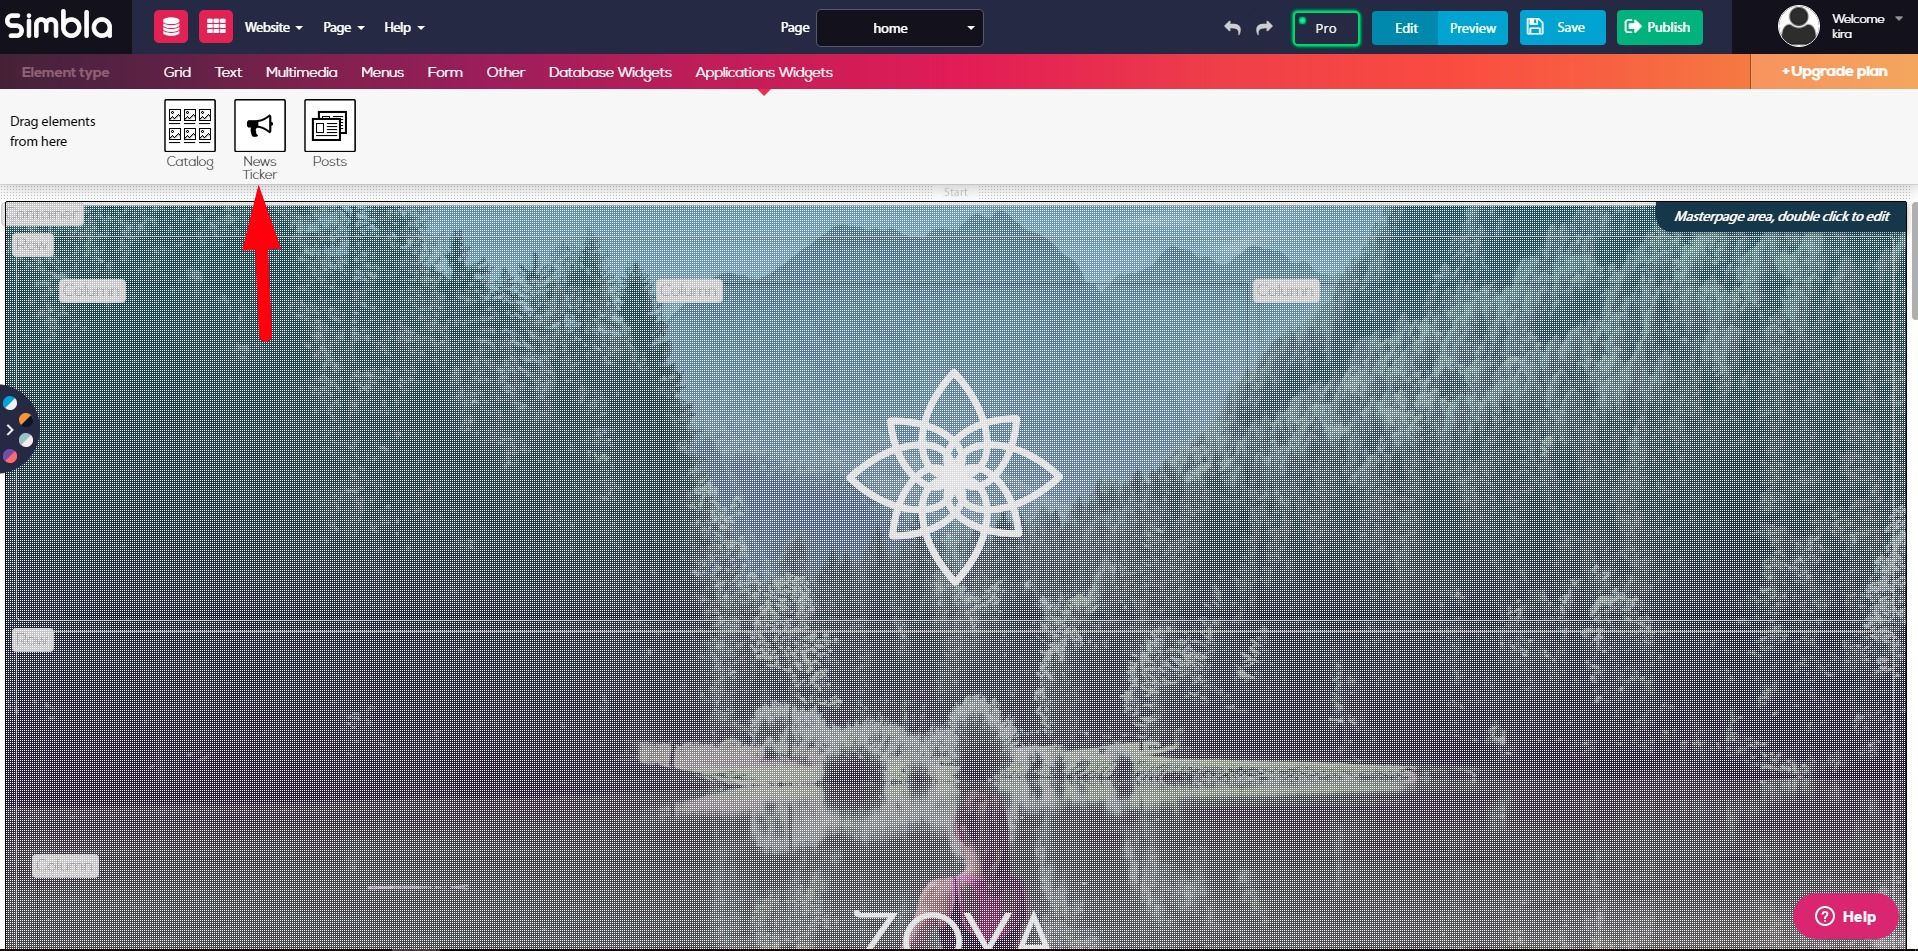
Now you’re ready to head back over to your website and connect it to your News. Go into Pro Mode and, under Application Widgets, click and drag the News Ticker widget to the place on your page where you want your headlines to appear.
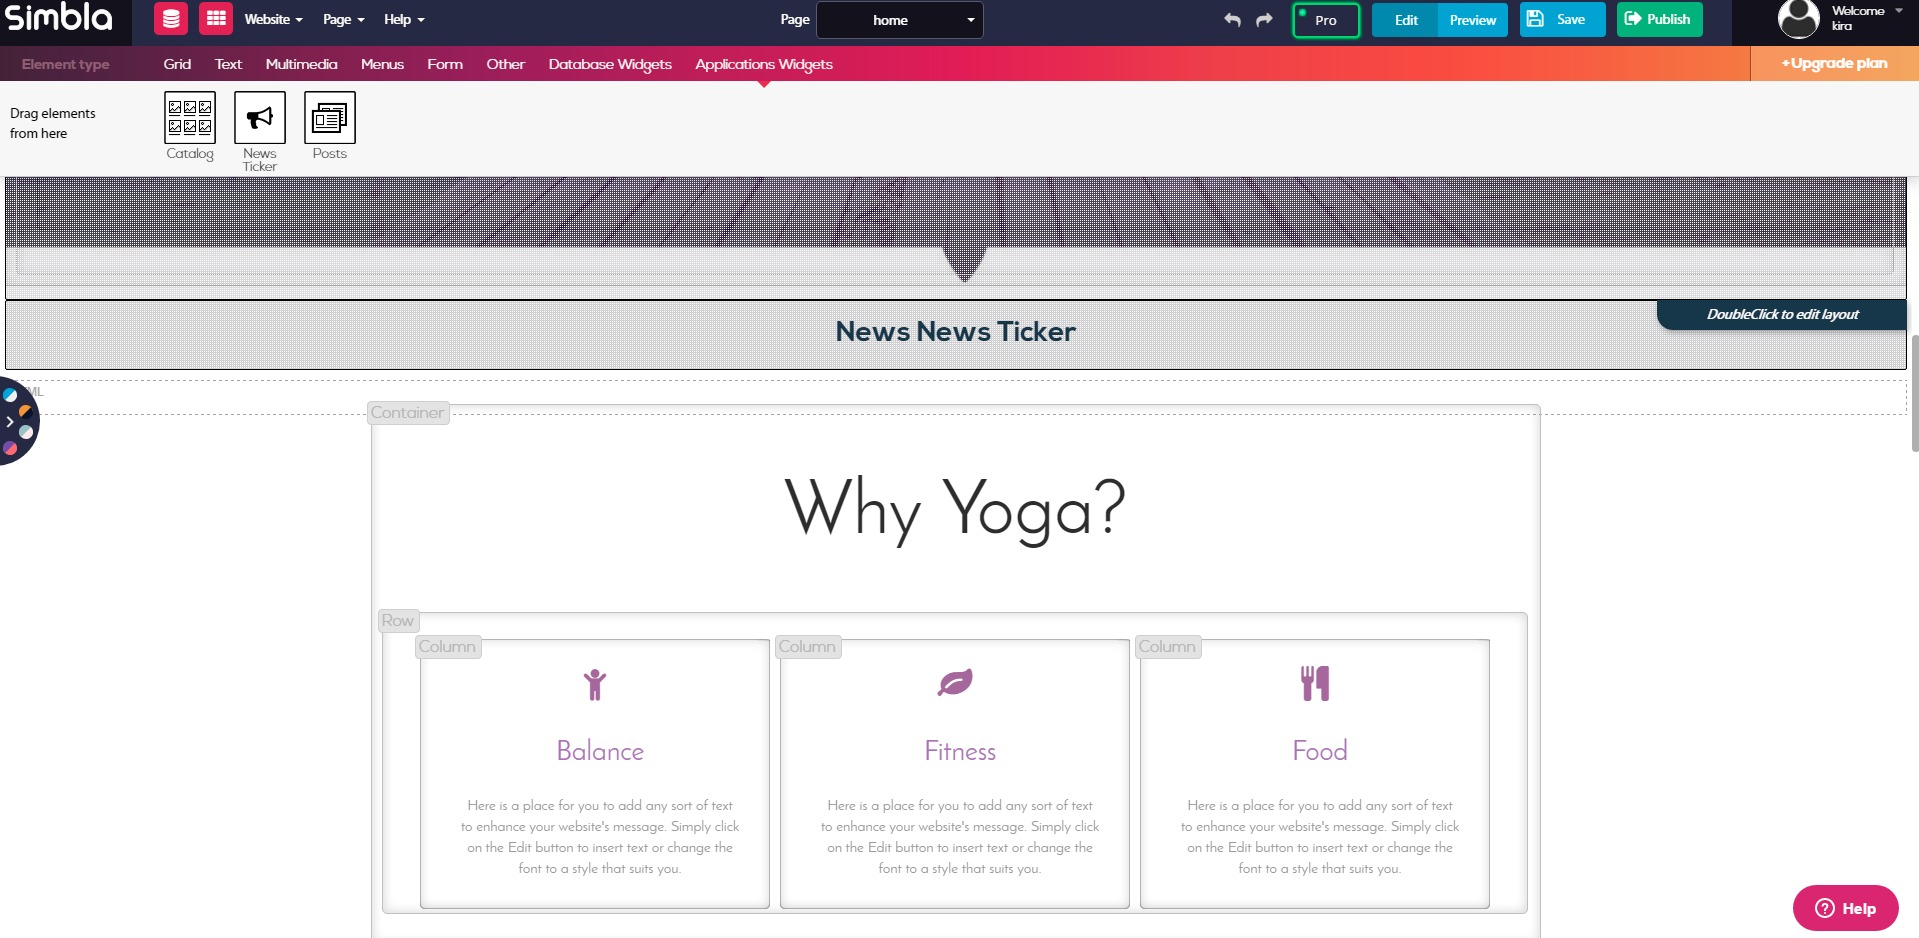
Simply double click the “News Ticker” space to edit the appearance of your headlines to your liking. When you’re satisfied, select “Save” and “Publish” to finish setting up your News Ticker!
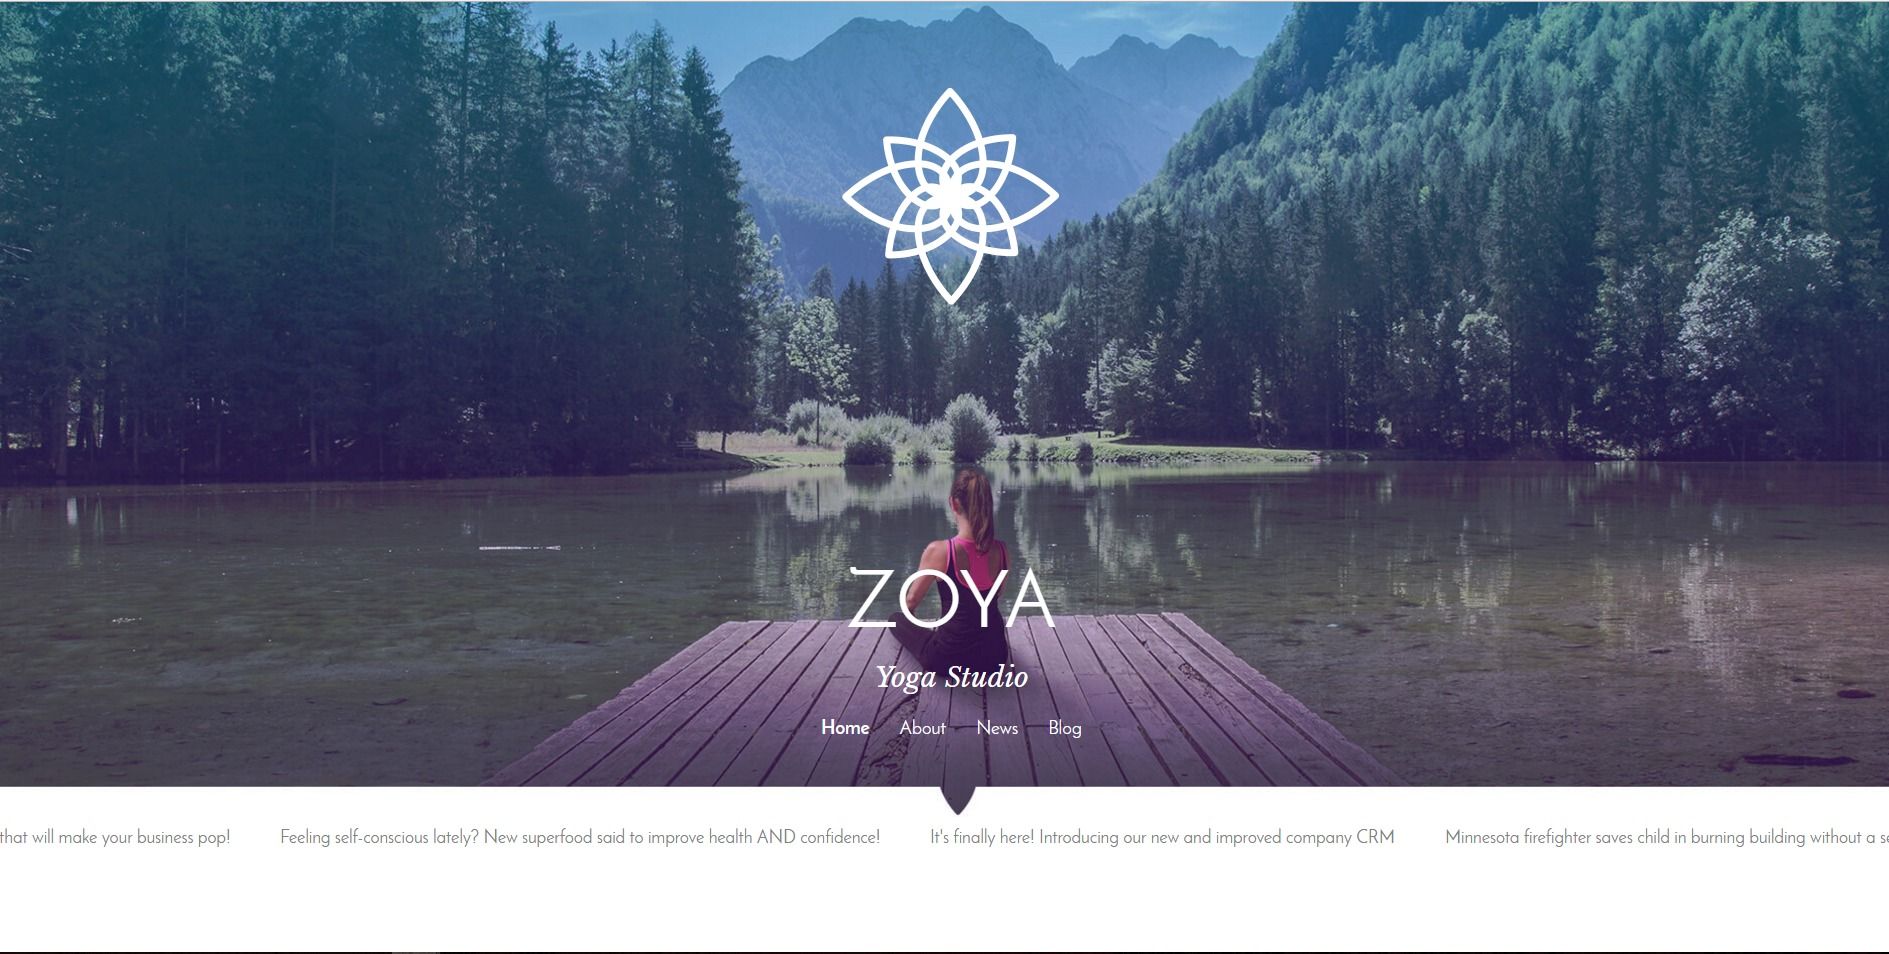
Note: You will not see your headlines appear on your website page in “Edit’ or “Preview” mode, but don’t worry! When you publish your website and click “View Live,” your headlines should be scrolling across your website the way you set them up.

